How to Breed Blazamut — All 86 Parent Combinations
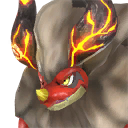 Blazamut is a Fire Pal with CombiRank 410. It hatches from 86 parent combinations in Palworld 1.0 — the most accessible pairs come first, and the full table below is searchable. Data verified for Palworld 1.0 · Last updated October 22, 2026.
Full data on this Pal: Blazamut stats & profile · more Fire Pals in Palworld
Recommended parent pairs for Blazamut
Ranked by accessibility: a pair scores by its rarer parent, because a higher CombiRank means a more common Pal. These are the pairs real players can assemble first — not just the first rows of the table.
- Blazamut +
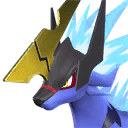 Azurmane (rarer parent: CombiRank 410)
Both parents are ordinary, catchable Pals — no legendary or special-only parent is needed. The harder-to-get of the two is Blazamut (CombiRank 410); Azurmane sits at CombiRank 420, and higher CombiRank means a more common Pal. Every other pair for this Pal forces an equal or rarer parent. 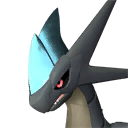 Xenolord +
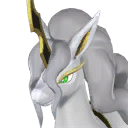 Starryon Primo (rarer parent: CombiRank 400)
Both parents are ordinary, catchable Pals — no legendary or special-only parent is needed. The harder-to-get of the two is Xenolord (CombiRank 400); Starryon Primo sits at CombiRank 430, and higher CombiRank means a more common Pal. Every other pair for this Pal forces an equal or rarer parent.- Xenolord + Azurmane (rarer parent: CombiRank 400)
Both parents are ordinary, catchable Pals — no legendary or special-only parent is needed. The harder-to-get of the two is Xenolord (CombiRank 400); Azurmane sits at CombiRank 420, and higher CombiRank means a more common Pal. Every other pair for this Pal forces an equal or rarer parent. - Xenolord + Blazamut (rarer parent: CombiRank 400)
Both parents are ordinary, catchable Pals — no legendary or special-only parent is needed. The harder-to-get of the two is Xenolord (CombiRank 400); Blazamut sits at CombiRank 410, and higher CombiRank means a more common Pal. Every other pair for this Pal forces an equal or rarer parent. 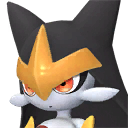 Flaracle +
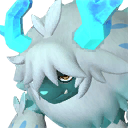 Elgrove Cryst (rarer parent: CombiRank 390)
Both parents are ordinary, catchable Pals — no legendary or special-only parent is needed. The harder-to-get of the two is Flaracle (CombiRank 390); Elgrove Cryst sits at CombiRank 440, and higher CombiRank means a more common Pal. Every other pair for this Pal forces an equal or rarer parent.
Already own Blazamut? Blazamut + Blazamut also works — the fastest way to breed more once you have a breeding pair.
Step by step: breeding Blazamut
- Build a Breeding Farm. It unlocks at Technology Level 19 and costs 100 Wood, 20 Stone and 50 Fiber. The palworld breeding farm setup guide covers placement.
- Pick a pair from the table below — one male, one female — and assign both Pals to the Breeding Farm. Any pair in the table produces Blazamut; the recommended pairs above are the ones most players can build first.
- Mind the genders. For ordinary pairs only the two species matter, never which parent is male. Blazamut's wild gender ratio is 50% male, which matters when you are catching parents.
- Stock Cake in the farm's box. No Cake, no Egg. Cake is baked from Flour, Red Berries, Milk, Egg and Honey — the palworld cake farm guide shows how to keep it flowing.
- Hatch the Egg. The pair produces an Egg of the type matching Blazamut's element. Put it in an Egg Incubator and check the palworld egg incubation calculator for its hatch time and ideal temperature, or read the palworld egg types guide.
All parent combinations for Blazamut
Search the table, filter by a parent's element, or switch on “Pals I own” to keep only the pairs you can build today. Working backwards from a different target? Plan multi-step routes with the palworld breeding chain calculator.
Showing 86 of 86 combinations.
| Parent 1 | Parent 1 elements | Parent 2 | Parent 2 elements | Type |
|---|---|---|---|---|
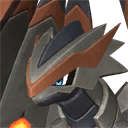 Aegidron | Dragon / Ground | 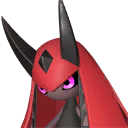 Splatterina | Dark | Formula |
| Aegidron | Dragon / Ground | 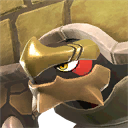 Tetroise | Ground | Formula |
| Aegidron | Dragon / Ground | 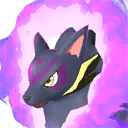 Kitsun Noct | Dark | Formula |
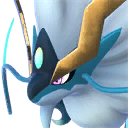 Shaolong | Dragon / Water | 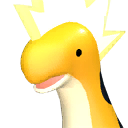 Relaxaurus Lux | Dragon / Electric | Formula |
| Shaolong | Dragon / Water | Splatterina | Dark | Formula |
| Shaolong | Dragon / Water | Tetroise | Ground | Formula |
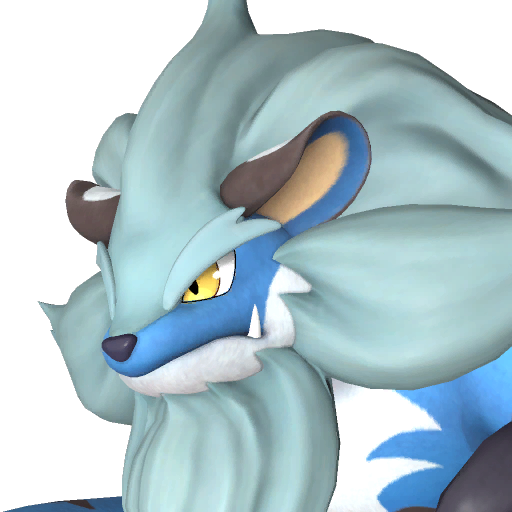 Bastigor | Ice |  Mycora | Grass | Formula |
| Bastigor | Ice | Relaxaurus Lux | Dragon / Electric | Formula |
| Bastigor | Ice | Splatterina | Dark | Formula |
 Dandilord | Grass / Dark |  Moldron | Fire / Ground | Formula |
| Dandilord | Grass / Dark | Mycora | Grass | Formula |
| Dandilord | Grass / Dark | Relaxaurus Lux | Dragon / Electric | Formula |
 Jetragon | Dragon |  Suzaku Aqua | Water | Formula |
| Jetragon | Dragon | Moldron | Fire / Ground | Formula |
| Jetragon | Dragon | Mycora | Grass | Formula |
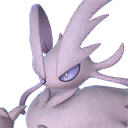 Silvance | Grass | 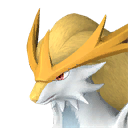 Gildane | Ground | Formula |
| Silvance | Grass | Suzaku Aqua | Water | Formula |
| Silvance | Grass | Moldron | Fire / Ground | Formula |
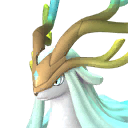 Hartalis | Neutral |  Ghangler Ignis | Fire / Water | Formula |
| Hartalis | Neutral | Gildane | Ground | Formula |
| Hartalis | Neutral | Suzaku Aqua | Water | Formula |
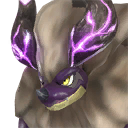 Blazamut Ryu | Dragon / Fire | 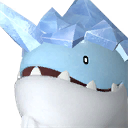 Whalaska | Ice / Water | Formula |
| Blazamut Ryu | Dragon / Fire | Ghangler Ignis | Fire / Water | Formula |
| Blazamut Ryu | Dragon / Fire | Gildane | Ground | Formula |
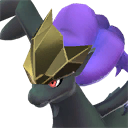 Frostallion Noct | Dark | Whalaska | Ice / Water | Formula |
| Frostallion Noct | Dark | Ghangler Ignis | Fire / Water | Formula |
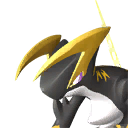 Orserk | Dragon / Electric | Whalaska | Ice / Water | Formula |
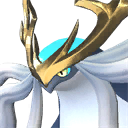 Neptilius | Water | 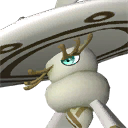 Sibelyx Primo | Neutral | Formula |
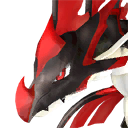 Jormuntide Ignis | Dragon / Fire | 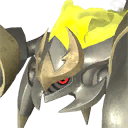 Menasting Terra | Ground | Formula |
| Jormuntide Ignis | Dragon / Fire | Sibelyx Primo | Neutral | Formula |
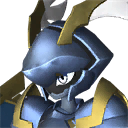 Paladius | Neutral | 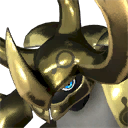 Warsect Terra | Ground | Formula |
| Paladius | Neutral | Menasting Terra | Ground | Formula |
| Paladius | Neutral | Sibelyx Primo | Neutral | Formula |
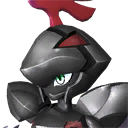 Necromus | Dark |  Bellanoir | Dark | Formula |
| Necromus | Dark | Warsect Terra | Ground | Formula |
| Necromus | Dark | Menasting Terra | Ground | Formula |
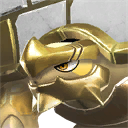 Tetroise Primo | Neutral |  Wumpo Botan | Grass | Formula |
| Tetroise Primo | Neutral | Bellanoir | Dark | Formula |
| Tetroise Primo | Neutral | Warsect Terra | Ground | Formula |
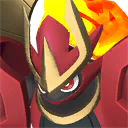 Knocklem Ignis | Fire | 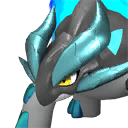 Reptyro Cryst | Ice / Ground | Formula |
| Knocklem Ignis | Fire | Wumpo Botan | Grass | Formula |
| Knocklem Ignis | Fire | Bellanoir | Dark | Formula |
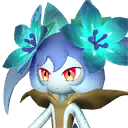 Lyleen Noct | Dark | 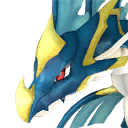 Jormuntide | Dragon / Water | Formula |
| Lyleen Noct | Dark | Reptyro Cryst | Ice / Ground | Formula |
| Lyleen Noct | Dark | Wumpo Botan | Grass | Formula |
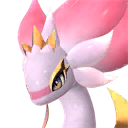 Ophydia | Grass / Water | 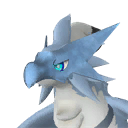 Beakon Cryst | Ice | Formula |
| Ophydia | Grass / Water | Jormuntide | Dragon / Water | Formula |
| Ophydia | Grass / Water | Reptyro Cryst | Ice / Ground | Formula |
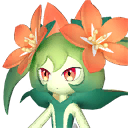 Lyleen | Grass | 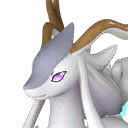 Celesdir | Neutral | Formula |
| Lyleen | Grass | Beakon Cryst | Ice | Formula |
| Lyleen | Grass | Jormuntide | Dragon / Water | Formula |
 Dualith Noct | Ground / Dark | 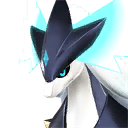 Silvegis | Dragon | Formula |
| Dualith Noct | Ground / Dark | Celesdir | Neutral | Formula |
| Dualith Noct | Ground / Dark | Beakon Cryst | Ice | Formula |
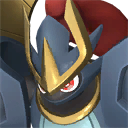 Knocklem | Ground | 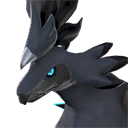 Shadowbeak | Dark | Formula |
| Knocklem | Ground | Silvegis | Dragon | Formula |
| Knocklem | Ground | Celesdir | Neutral | Formula |
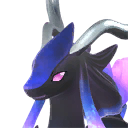 Celesdir Noct | Dark | 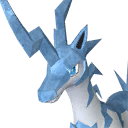 Univolt Cryst | Ice | Formula |
| Celesdir Noct | Dark | Shadowbeak | Dark | Formula |
| Celesdir Noct | Dark | Silvegis | Dragon | Formula |
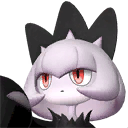 Solenne | Dark / Neutral | 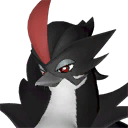 Roujay | Dark | Formula |
| Solenne | Dark / Neutral | Univolt Cryst | Ice | Formula |
| Solenne | Dark / Neutral | Shadowbeak | Dark | Formula |
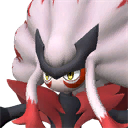 Renjishi | Fire | 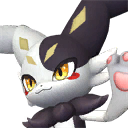 Dupin | Fire | Formula |
| Renjishi | Fire | Roujay | Dark | Formula |
| Renjishi | Fire | Univolt Cryst | Ice | Formula |
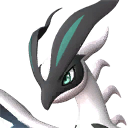 Eidrolon | Dragon / Dark |  Dualith | Ground / Grass | Formula |
| Eidrolon | Dragon / Dark | Dupin | Fire | Formula |
| Eidrolon | Dragon / Dark | Roujay | Dark | Formula |
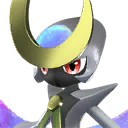 Selyne | Dark / Neutral | 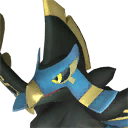 Faleris Aqua | Water | Formula |
| Selyne | Dark / Neutral | 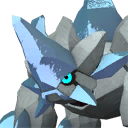 Pierdon Cryst | Ice | Formula |
| Selyne | Dark / Neutral |  Cryolinx Terra | Ground | Formula |
 Whalaska Ignis | Ice / Fire | Elgrove Cryst | Ice | Formula |
| Whalaska Ignis | Ice / Fire | Faleris Aqua | Water | Formula |
| Whalaska Ignis | Ice / Fire | Pierdon Cryst | Ice | Formula |
 Moldron Cryst | Ice / Ground | Starryon Primo | Neutral | Formula |
| Moldron Cryst | Ice / Ground | Elgrove Cryst | Ice | Formula |
| Moldron Cryst | Ice / Ground | Faleris Aqua | Water | Formula |
| Flaracle | Fire | Azurmane | Electric | Formula |
| Flaracle | Fire | Starryon Primo | Neutral | Formula |
| Flaracle | Fire | Elgrove Cryst | Ice | Formula |
| Xenolord | Dark / Dragon | Blazamut | Fire | Formula |
| Xenolord | Dark / Dragon | Azurmane | Electric | Formula |
| Xenolord | Dark / Dragon | Starryon Primo | Neutral | Formula |
| Blazamut | Fire | Blazamut | Fire | Formula |
| Blazamut | Fire | Azurmane | Electric | Formula |
What Blazamut breeds into
Blazamut is also a parent. Paired with common Pals, it produces these offspring — the full parent-by-parent list lives in the palworld breeding calculator.
- Blazamut + Nox → how to breed Polapup (Polapup · CombiRank 1660)
- Blazamut + Hoocrates → how to breed Kitsun (Kitsun · CombiRank 1670)
- Blazamut + Pengullet → how to breed Lapiron (Lapiron · CombiRank 1680)
- Blazamut + Fuack → how to breed Beakon (Beakon · CombiRank 1690)
- Blazamut + Depresso → how to breed Carnibora (Carnibora · CombiRank 1700)
- Blazamut + Lifmunk → how to breed Maraith (Maraith · CombiRank 1710)
- Blazamut + Mau → how to breed Petallia (Petallia · CombiRank 1720)
- Blazamut + Teafant → how to breed Tarantriss (Tarantriss · CombiRank 1730)
- Blazamut + Blue Slime → how to breed Slowatt (Slowatt · CombiRank 1750)
Keep breeding — parent guides
- How to breed Azurmane — a recommended parent for Blazamut
- How to breed Xenolord — a recommended parent for Blazamut
- How to breed Starryon Primo — a recommended parent for Blazamut
- How to breed Flaracle — a recommended parent for Blazamut
- How to breed Elgrove Cryst — a recommended parent for Blazamut
- Plan a breeding chain to Blazamut — find the shortest route from a Pal you already own.
Breeding Blazamut for passive skills
Species is only half the plan — the child also inherits passive skills from both parents. Once your pair is set, run it through the palworld passive skill calculator to see the odds of inheriting the passives you want, and read the palworld passive skill breeding guide for how inheritance actually picks its winners.
Blazamut breeding FAQ
How do you breed Blazamut in Palworld?
There are 86 parent combinations that produce Blazamut. Put any listed pair — one male, one female — in a Breeding Farm with Cake stocked in the farm's box, then hatch the Egg in an Egg Incubator. The full list is in the table on this page.
What is the easiest way to breed Blazamut?
The most accessible pair is Blazamut + Azurmane. Both parents are ordinary, catchable Pals — no legendary or special-only parent is needed. The harder-to-get of the two is Blazamut (CombiRank 410); Azurmane sits at CombiRank 420, and higher CombiRank means a more common Pal. Every other pair for this Pal forces an equal or rarer parent.
Can you breed Blazamut with itself?
Yes. Blazamut + Blazamut produces Blazamut through the breeding formula, so once you own two of opposite genders you can breed more.
What egg does Blazamut hatch from?
Blazamut hatches from the egg type matching its Fire element. See the egg incubation calculator for hatch times and the ideal temperature for that egg type.